Store Locator Widget Quick Start
How to customize your Store Locator Widget
Introduction
The Woosmap Store Locator Widget enables you to create a Store Locator with the basemap that suits your needs. It’s designed to help you easily integrate a powerful store locator into your website.
You can fully customize all the widget’s properties on the client side using a WebAppConf object (refer to the Store Locator Widget Reference for more details).
Feature overview
Supported Languages & Unit Systems
The Store Locator Widget is available in over 20 languages (find the complete list here), supports both metric and imperial units for distance (meters/miles), and allows customization of the time format for opening hours (12-hour/24-hour).
Display
To keep up with your brand identity, align Store Locator Widget primary color with your brand identity. This color applies on labels and background for the Search and Results panel.
Map & Stores Overlay
You can define a specific viewport for the map or have it automatically center and zoom to ensure all assets remain within the map’s bounds.
To assure maximum readability and navigation, the map offers two types of display for assets :
- Simplified view : assets are displayed as colored dots on the map.
- Markers view : assets are displayed as pictogram.
These views work together seamlessly. By default, the map centers and displays all store locations on load. You can also configure the zoom level based on the user’s location, or let us optimize it automatically based on your store density.
Simplified view
Useful to render large amount of assets or high store density. The colour of the dots can be set either as a unique colour for all stores or colours depending on types of service (eg. drive, click and collect, etc):

Markers view
Useful to render detailed markers (branding, etc) after a specified level of zoom (breakpoint):
![]()
Search assets
The number of assets retrieved from a user search can be customized between 1 and 10, with the default set to 3. Additionally, the search radius can be adjusted to match your store density, ensuring relevant results within the desired area.
Initial State
You could define an initial state for the Widget by using the public javascript methods. Here are the allowed initial states:
-
Nearby Stores from Geolocation: get a geolocation from woosmap and recommend the nearest assets from the user position.
-
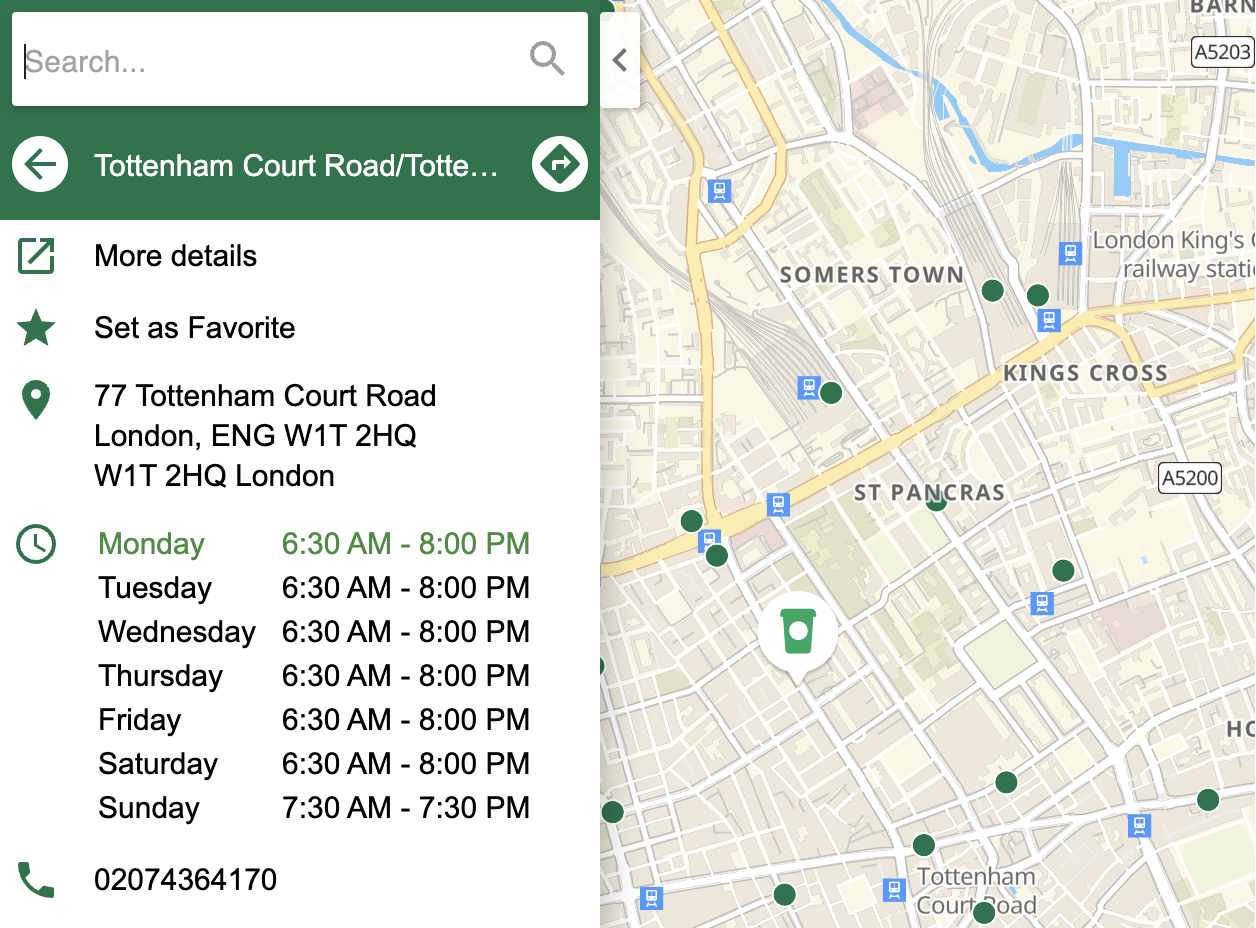
Selected Store: open the Widget on a specific store and display information about it.
-
Driving Directions: display the directions in the choosen mode between an asset and a location (geolocation or choosen).
-
Nearby Stores from Search: open the Widget with a preset search. It will be automatically geocoded to display the nearest assets.
-
HTML Location: ask the browser for an HTML 5 geolocation to center the map.